In order to to create your portfolio items. Go to Portfolio > Add New and create a New Portfolio. Give it a title, add a description and pick a Skills Category from the Skills panel on the right.
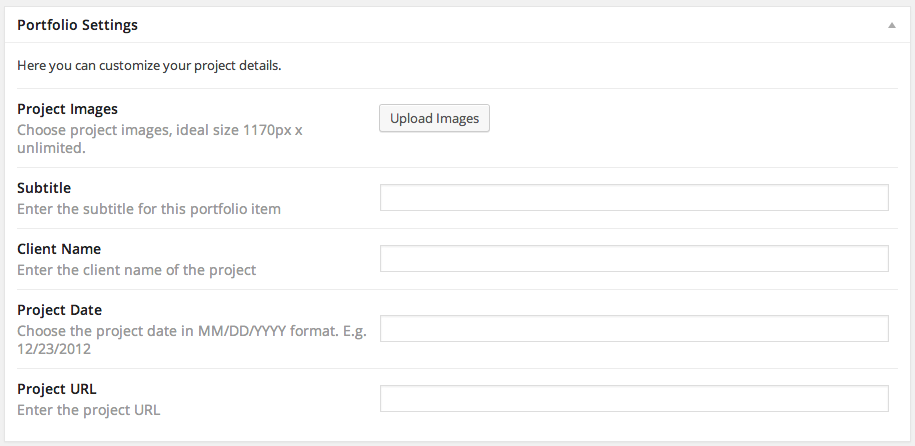
Let’s Move on to the Portfolio Settings panel which is located under the text Editor.

There are some settings there for you to customize:
- Project Images: In this section you can choose one or more main images for your portfolio item. ideal size is 1170 pixels width. you can choose any height.
- Sub Title: This is a subtitle for the portfolio item that will display under the title at the portfolio item page.
- Client Name: You can mention the client here.
- Project Date: You can give a date for when the project is created.
- Project URL: Setting a URL will automatically output a button under the project description that will link to the URL that you just set. Leaving this field blank will hide the button.
Next step is to create a
Featured Image for your portfolio item. This featured image will be used as the portfolio thumbnail at the portfolio section at the homepage and the portfolio page. When you assign the featured image, hit publish. You have just created your first portfolio item.
Note: The ideal size to create featured images is 366×366 pixels.
Creating Skills for the portfolio items
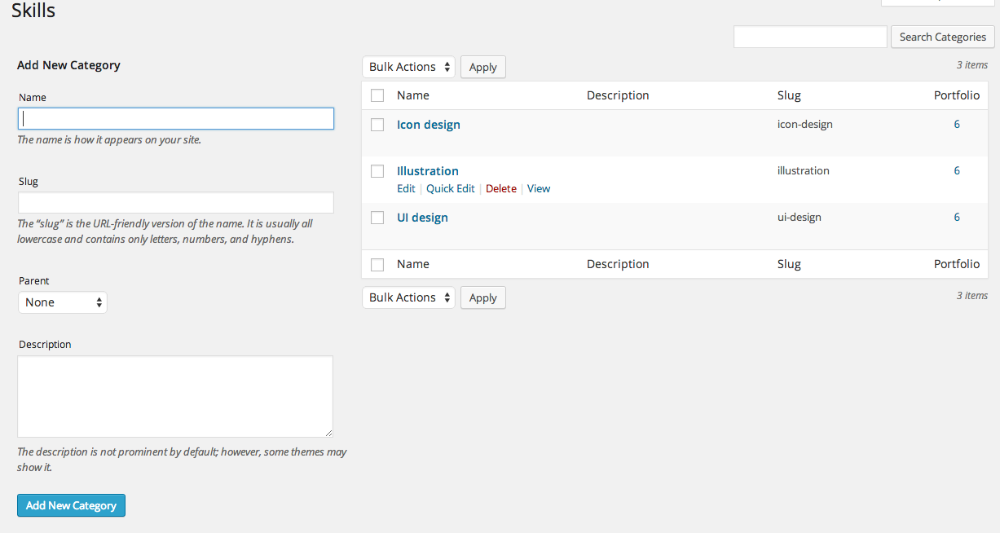
Let’s create some skills, which serve as “categories” of your portfolio work. So, go to
Portfolio > Skills and add your portfolio categories. The screenshot below shows some example categories/skills we have created for the demo.

Further Portfolio Settings
Under the theme options panel you can find some further settings for your portfolio page. Go to
Doctype > Theme Options and go to the Portfolio Settings Tab.
These options define the appearance of a full-width Call to Action section that is located under the portfolio. If you do not want this section to appear, simply uncheck the Show Portfolio CTA checkbox. You can also choose whether or not to display related projects at the bottom of the portfolio item page.
