Widgetized pages are a great way to create custom page layouts with re-arrangeable sections based on widgets. The basic concept works like this:
Add custom section widgets to a Widgetized page widget area (widget panel), and enjoy flexible layouts with plenty of presentation options.
Steps to create a Widgetized page:
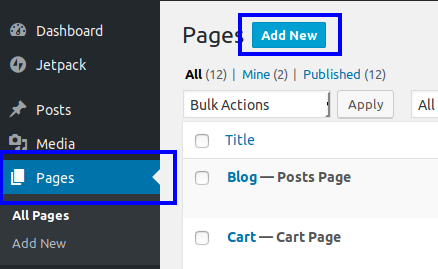
- At your Dashboard, Add a new static page via Pages > Add New.

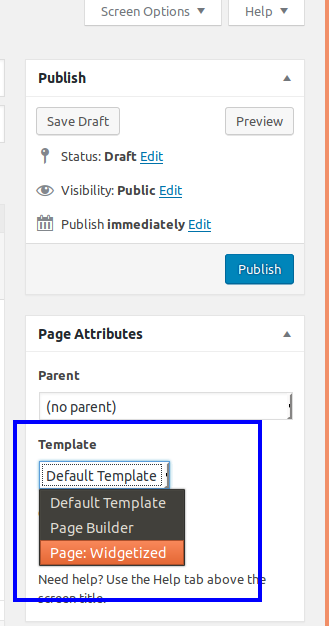
- From the right side, select the Page: Widgetized template under the Page Attributes panel.

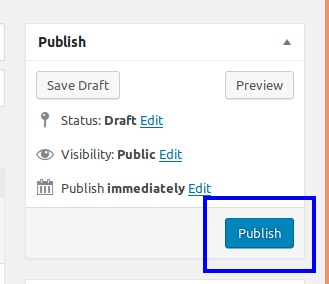
- Hit Publish to create your page.

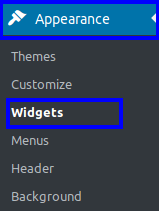
- Go to Appearance > Widgets

- You will find a new widget panel named after the title of the static page you just created and the “Page:” prefix. If you named the static page “Home”, then the new widget panel should be titled Page:Home.

This is it. You have just created you first widgetized page. Now you can create engaging, flexible layouts with by simply dropping any of the Custom Section widgets to that widget panel, as described in the following section.
