Background Settings for Posts
When you create or edit a post, at the bottom of the page you will notice a “Background Settings” panel. This defines the appearance of the post’s main image, which shows as a cover behind the post’s title. First thing you need to do, is to choose a featured image from the right side panel. Once you select one, you can choose a background color and set an opacity for the featured image. This way, you can blend the image with the background colour to ensure readability of the post’s title and post meta.

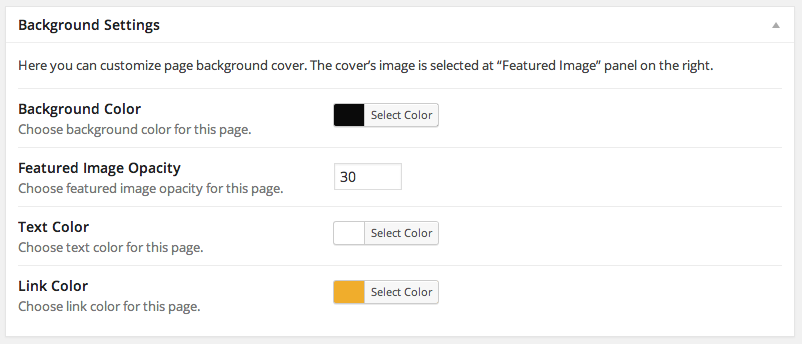
Background Settings for Pages
A similar panel exists for static pages too. The only difference here is that you will find 2 more options, that have to do with the text and link color. For the static pages, all the content will show above the background cover image. So, if you want to have a page without a background image, but with a white background color, you will need your text to be black instead of white. This is the reason we added these 2 extra settings for the page background settings.

Video Cover Settings for Post Single pages
Ink also supports the ability to use a video cover at the post’s single page. So, under the “Background Settings” panel, you will find a “Video Cover Settings” where you have the ability to select a video. Supported video formats are MP4, Webm and OGV.
Note that the background color and cover opacity that you have set at the above panel, will apply for the video too. For the homepage/Archive pages, where the post appears with other posts on the same page, the featured image will be used as the cover and not the video.

Note: For viewports under 650px, the video is disabled and the featured image is reverted.
