
We assume you have Pulse theme installed and activated on your WordPress site, and will proceed with the after steps for setting up Pulse for your website. Read below to get a closer look on how you can kickstart your website in mere minutes.
Pulse Theme Setup
 Ones you hit Theme Setup, you’ll be present with the Setup Welcome Page from where the steps instantiate, to move forward press Start button and wait for the next page.
Note: There are links to go back if you wish to do the setup later.

Next step includes of creating a child theme of Pulse and activating that child theme, don’t worry this whole process will be done via a single button press that is
Install as you can see on the page. Click on Install button to proceed with this step and move to the next one.
You don’t have to go through the pain of creating
child themes and installing them onboard, that’s what the Pulse setup is all about so you don’t have to go through every tiny detail of WordPress theming instead Pulse will do it for you.
Note: You can also skip this step and move forward, if you don’t want to have a child theme on the site. Simply click Skip button and the setup will skip forwards to the next step.

Next step is License Activation, if you have purchased Pulse theme license key for premium features and updates, please enter your license key in the empty field on this page and hit on
Activate button. This will verify plus activate the License and Pulse theme for updates, support and all the Premium features that comes with our theme.
Note: If you don’t have a license key and wish to use the free version just click on Later button and the setup will skip forward this step.

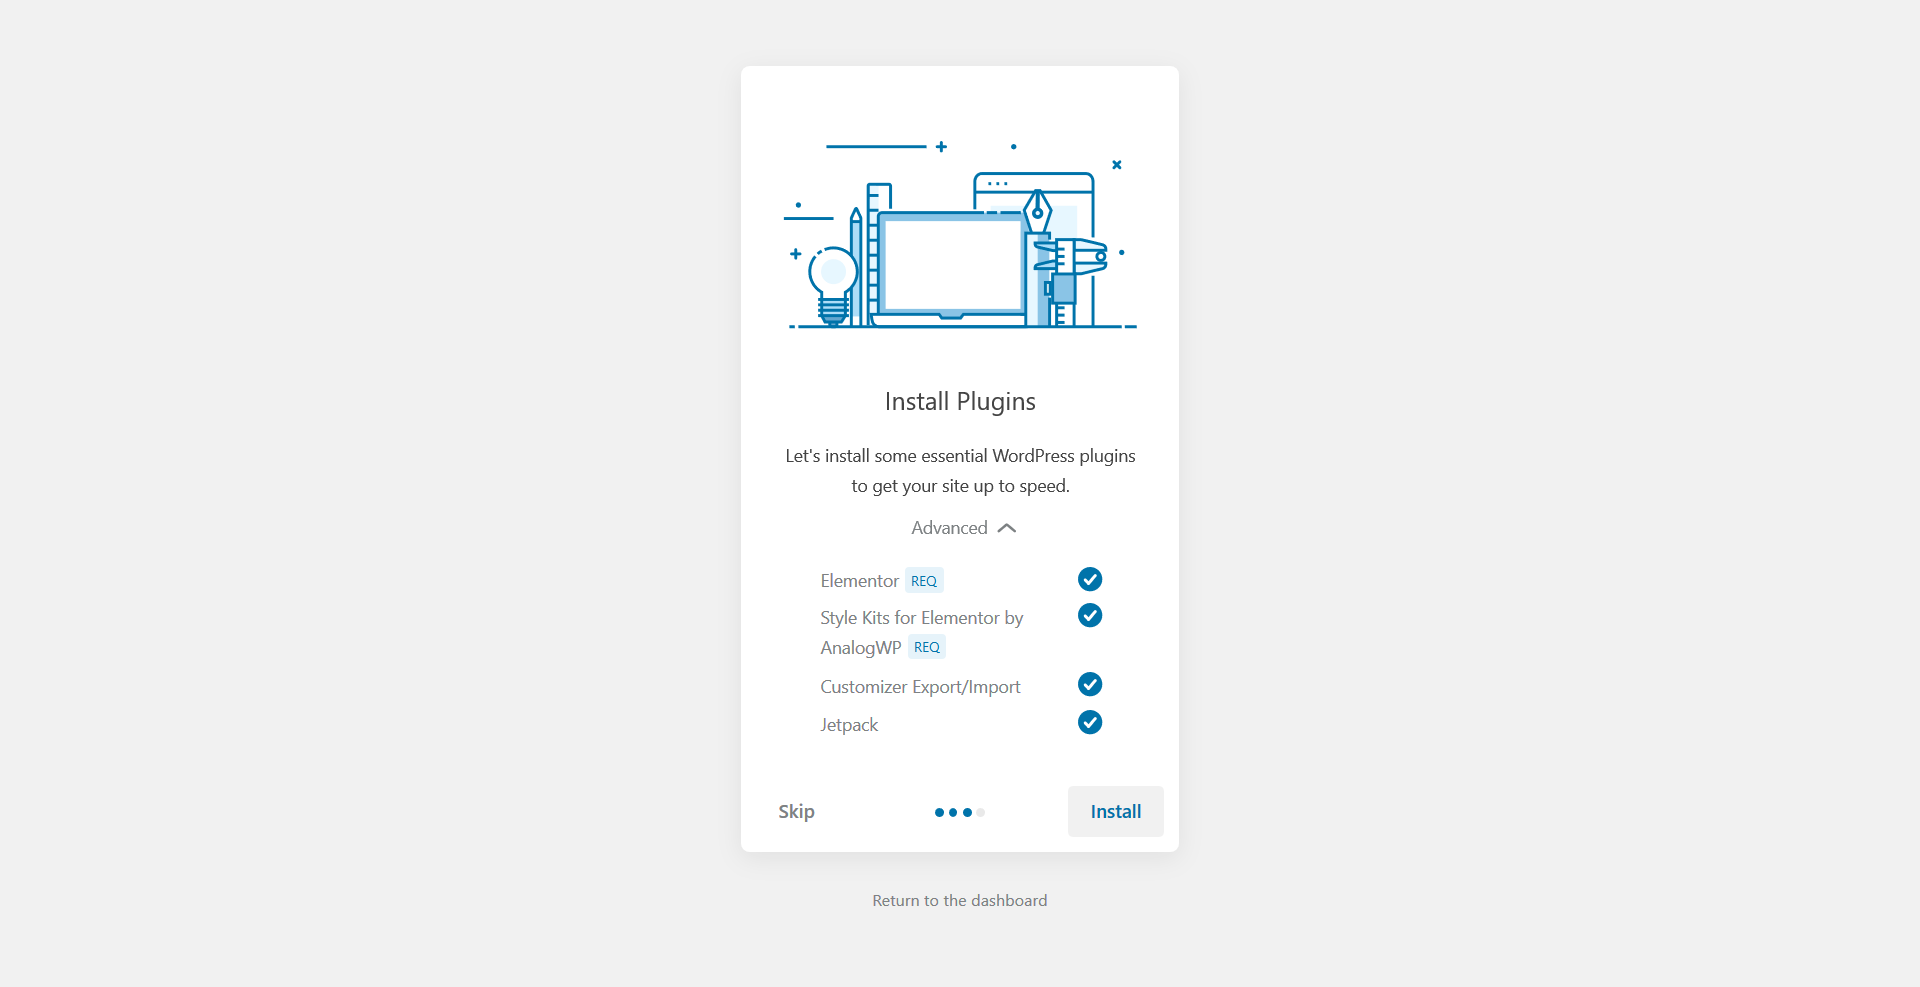
Moving forward, next step is Installing Plugins. This step includes recommended and required plugins for Pulse theme and if you wish to opt out of some of the plugins to be installed in this step, you can simply uncheck them by clicking on
Advanced dropdown and ones that is done hit the Install button to proceed with this step and move forward.
Note: You can also skip this step and move forward to the next one, but some features might not work if you didn’t install the required plugins.
All Done!
Great job, now your site is all ready to be edited and customized further that concludes of adding your own content to it, please go ahead and do as you please with the site. You’ll now have a fully working demo like site seen on Pulse demo sites, hope these steps were simple enough to understand how much time you’ve saved comparing to the manual way of setting up a theme.
