
Now let’s try to create your portfolio items. Go to Portfolio > Add New and create a New Portfolio. Give it a title, add a description and pick a Skills Category from the Skills panel on the right.
Let’s Move on to the Portfolio Settings panel which is located under the text Editor. There are some settings there for you to customize:
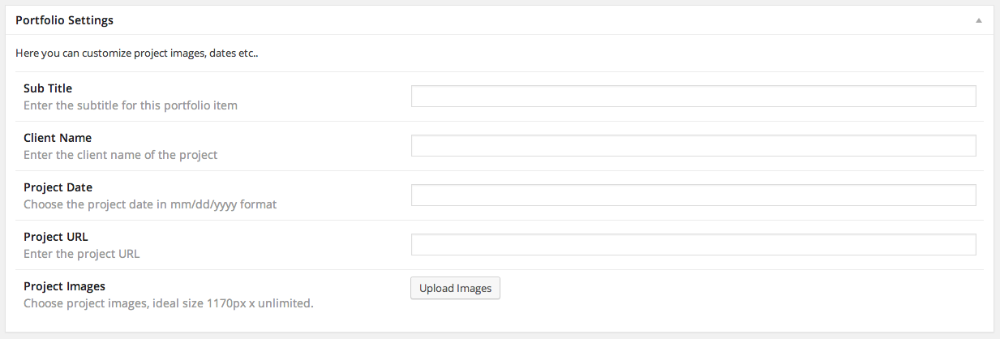
- Project Date: You can give a Date for your project
- Project URL: Setting a URL will automatically output a button under the project description that will link to the URL that you just set. Leaving this field blank will hide the button.
- Project Images: You can choose the project images here. Selecting multiple images will put them in a slideshow manner.
Next step is to create a
Featured Image for your portfolio item. This featured image will be used as the portfolio thumbnail at the portfolio section at the homepage and the portfolio page.
Note: The ideal size to create featured images is 366×232 pixels.
Note: At the expanded panel of each portfolio item you can see a short description. Define the length of this description under Forest > Theme Options > General Settings
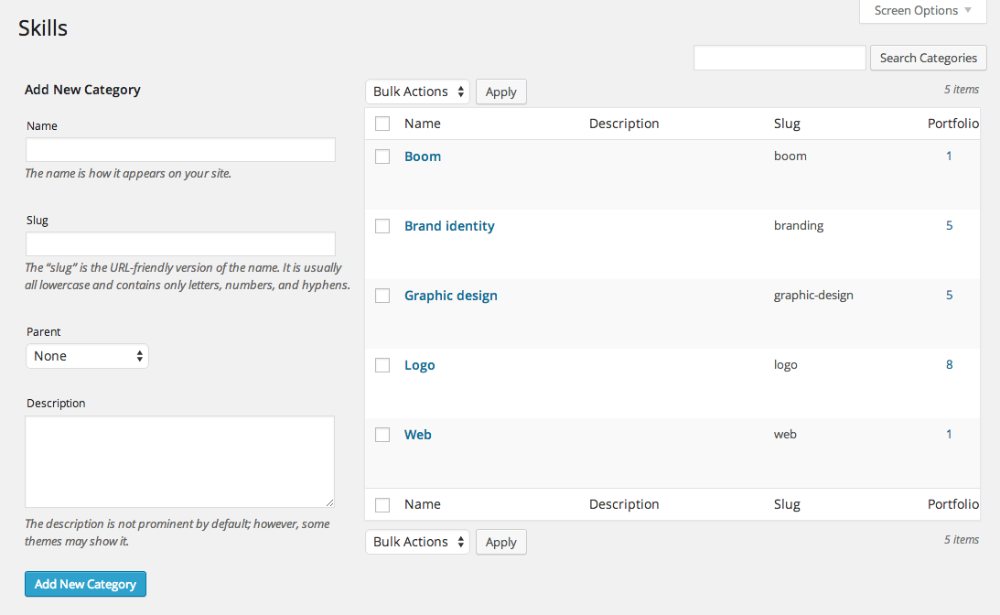
Creating Skills for the Portfolio items
On the sidebar of the WordPress Admin Panel you will see a Portfolio Tab.
Let’s start by creating some skills, which serve as “categories” of your portfolio work. So, go to Portfolio > Skills and add your portfolio categories. The screenshot below shows some example categories/skills we have created for the demo.
Further Portfolio Settings
Under the theme options panel you can find some further settings for your portfolio page. Go to Forest > Theme Options and go to the Portfolio Settings Tab.
These options define the appearance of a full-width Call to Action section that is located under the portfolio. If you do not want this section to appear, simply leave these fields empty.