- Section: Slider
- Section: Services
- Section: Portfolio
- Section: Static Content
- Section: Clients
- Section: Team
- Section: Testimonials
At
Appearance > Widgets is where you will be customizing the appearance of the homepage and the about us page. You can do so by adding any of the “section:” widgets to the corresponding widget areas and then define their layout.
First, let’s have a look at each of the widgets and what they do:
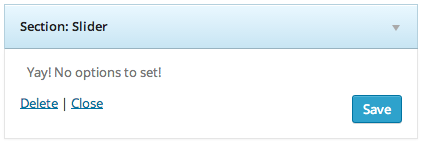
Section: Slider
This widget simply outputs the slider section. You can add/edit the slides at the Slides tab.
Section: Services
This widget outputs the service boxes.
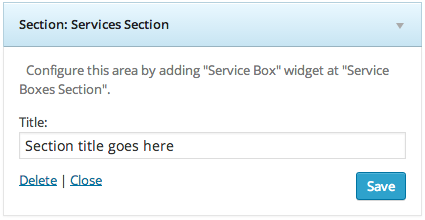
Notice: In order to create each of the individual service boxes, you should drag a Service Box widget at the Service Boxes Section panel. This panel defines the actual content of the Services section. In the Demo we have 4 services. If you want to use 4 too, you should drag 4 instances of the Service Box widget into the Service Boxes Section
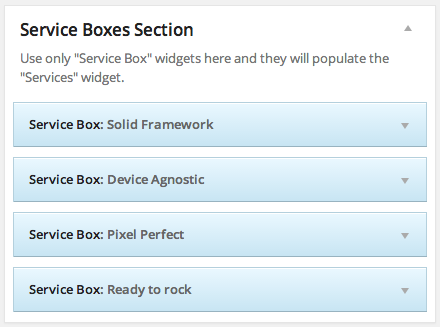
For each service box you can set a title and a description. you can use one of our six available icons or upload your own icon from Media > Add New and paste the link of the icon to the Custom Icon URL field. Repeat the process for the other widgets. Make sure you hit Save after configuring each one of them.
After that, make sure you add the “Section: Services Section” widget at the homepage widget area.
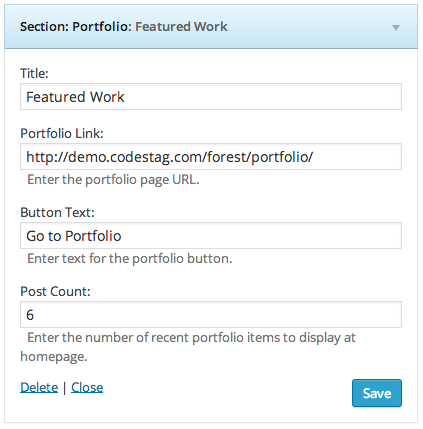
Section: Portfolio
This widget outputs a portfolio section. There are a couple of easy settings to customize this area, such as how many portfolio items you want to display at the portfolio section.
Section: Static Content
You can add as many static content sections as you want at the layout. Let’s try to add one now.
First you have to create the content at a new page. Go to Pages> Add New and create a new page. Create the content you wish and save it. Now let’s return to the widgets area. Drag the Section: Static Content widget to the Homepage Sections panel. Give the section a title and a subtitle and from the “Select page” dropdown select the page you just created. Hit save and you are good to go.

Customizing the appearance of the content section:
A special feature of Forest is that you can create interesting visual rythms by customizing several properties of the static content page widget, such as:
- Background color: sets a background color for the content
- Background image URL: Sets an image as a background for the content
- Background opacity: Sets an opacity for the selected image (if any).
- Text color: Defines the text color. E.g. if you have a dark background color you may need to have white text.
- Link color: sets the color of the text links.
This gives you the freedom to experiment and get creative by playing around with these options, plus allows you to create great content visual rythm to engage your users.
Please note that these options only take effect for the widget, and not the actual page.
Section: Clients
You can also have a section to display client logos by using this widget. First step is to upload the logos as images. You can do this from Media > Add New.
The suggested dimension for each logo is
266 x 206 pixels.
Once uploaded, copy the image url for each image, and paste them at the Image URLs field at the widget.

Note: You must paste one image URL per line (see screenshot below), one right after the other, without spaces or line breaks.
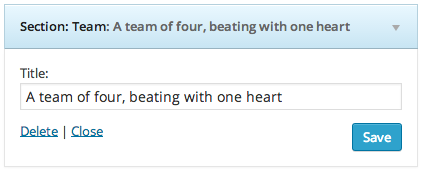
Section: Team
This widget outputs the team members boxes.
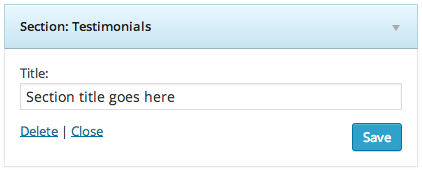
Section: Testimonials
This widget outputs the section with testimonials.