We all know how cumbersome it becomes to create a new website and maintain changes, backups at the same time. The most arguable task is whether you should update that one edgy plugin or to the latest version of WordPress which might just break your existing plugins, either way, your site goes down. Backup is one of the options, but at the same time, you wish you could do a dry run of updates/changes before it could hit you to restore from a backup at your live site.
In this post, we’re going to discuss just how to create WordPress local to live deployment workflow. Although we’ll be using some premium plugins in doing so, we’ll also make sure to include a free method to achieve the same.
What are we trying to achieve
- A local WordPress development site
- A method to push local data to live site and vice versa
- A method to keep your site source code & database backed up
Basic requirements
To get a kickstart in developing modern websites, check out our WordPress themes →
#1. Local WordPress Development Setup
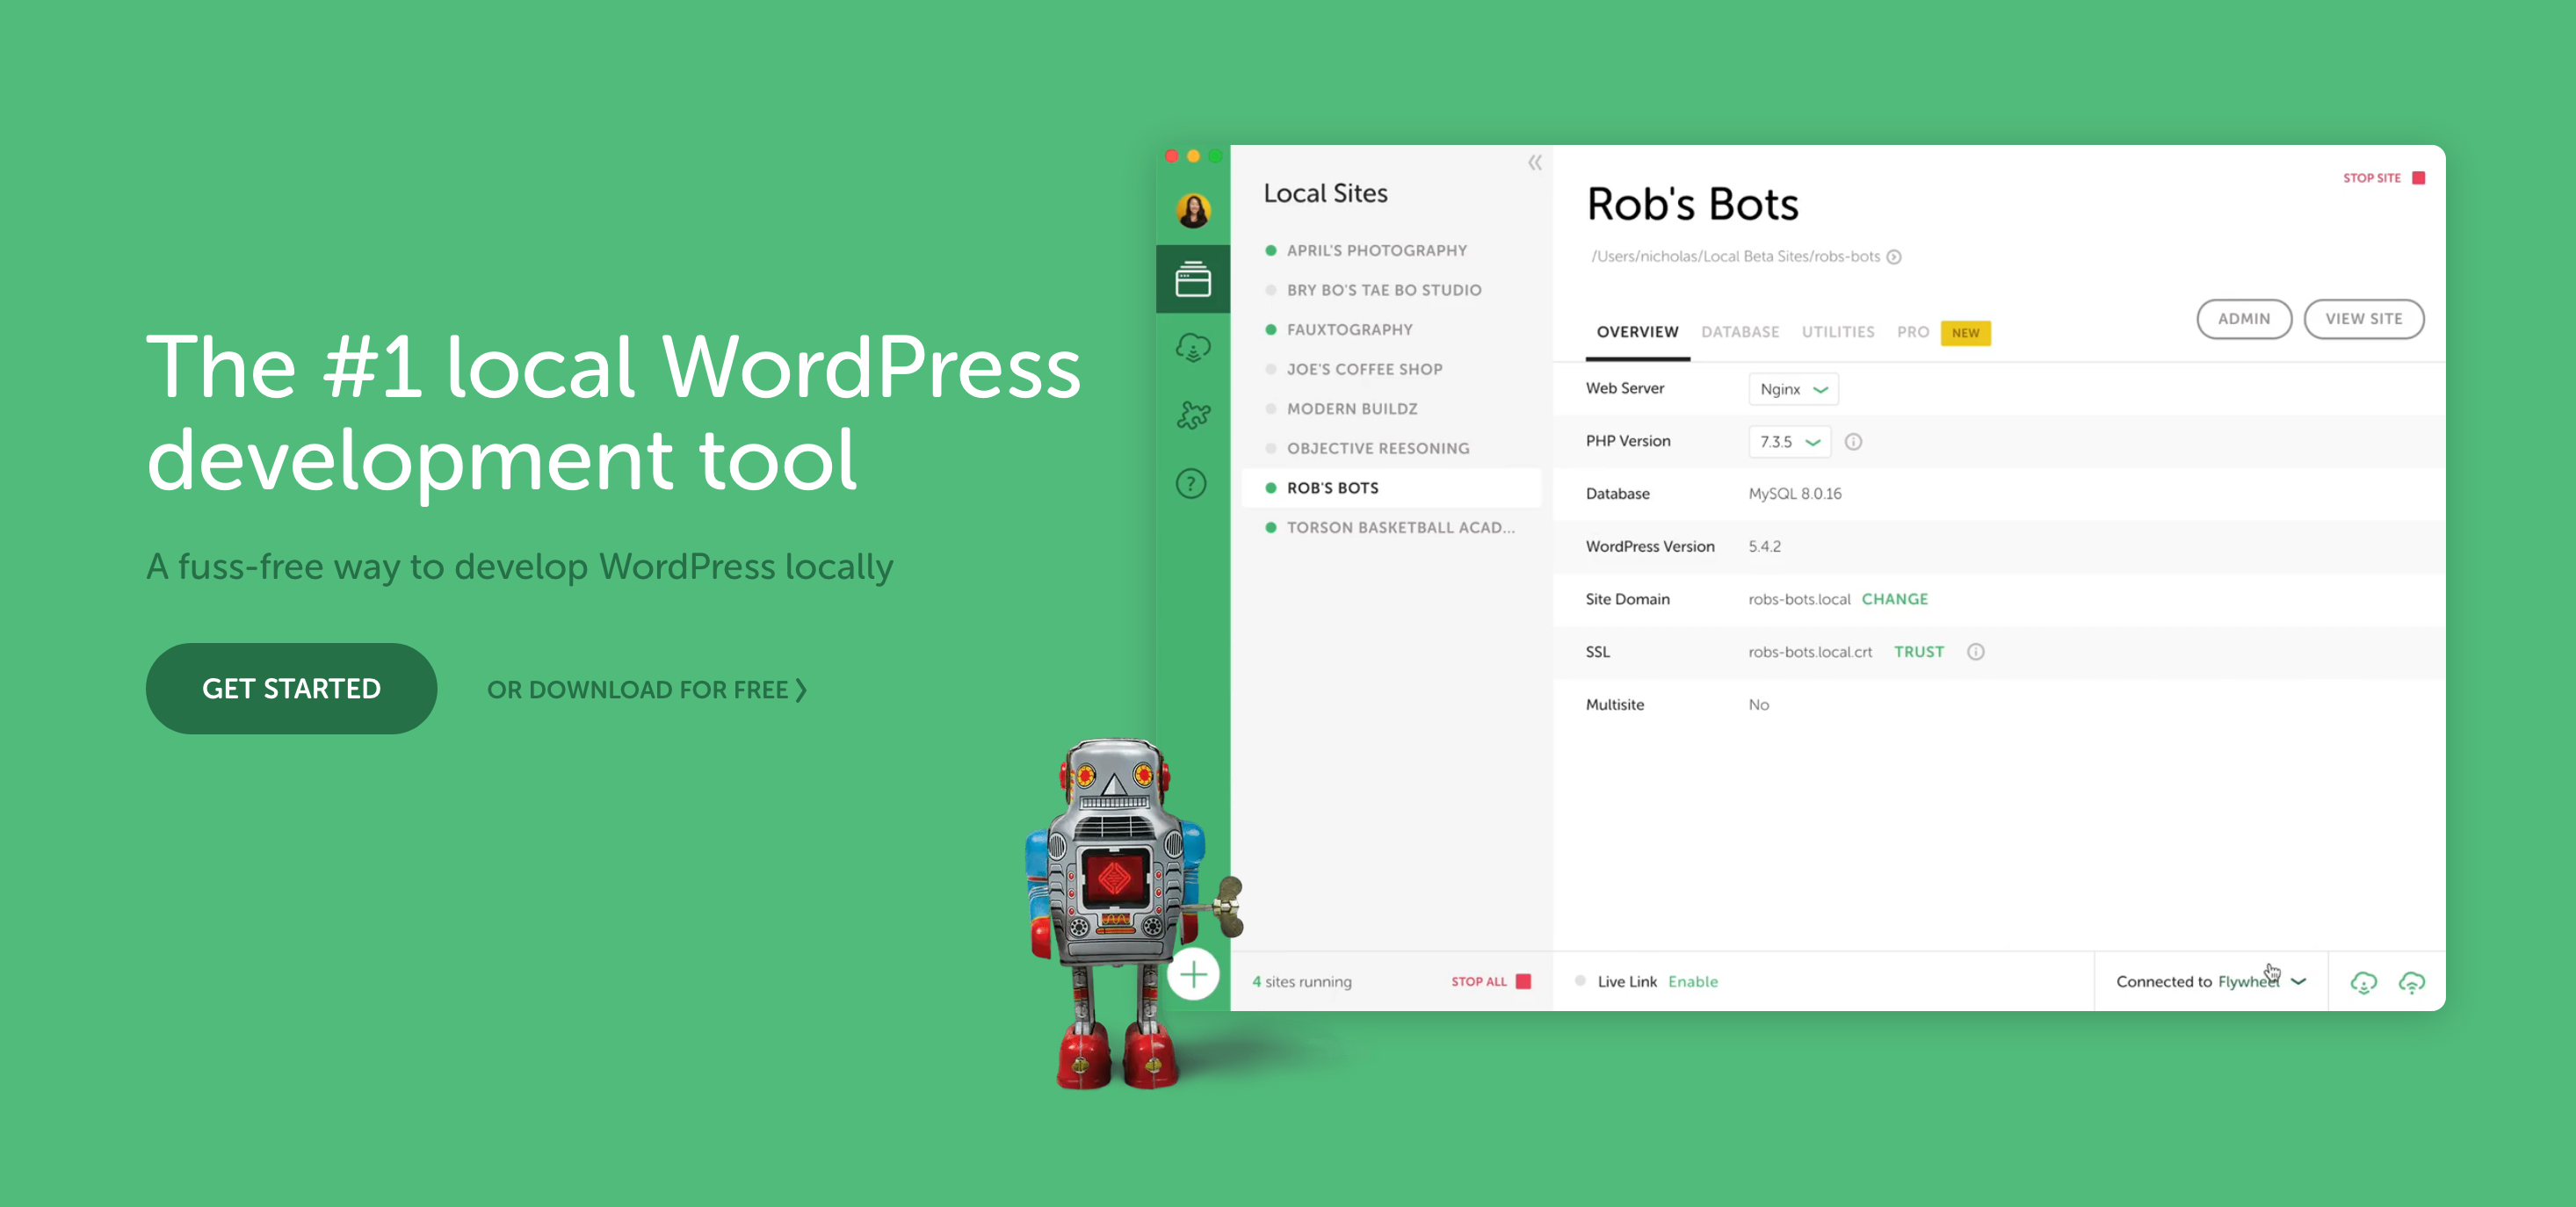
There are now many apps available with which you can setup a local WordPress site for development or testing. Some of the popular apps in this category are MAMP, DesktopServer, Local by Flywheel and newly launched DevKinsta.
For most people, we recommend using Local by Flywheel, since it gives you all the required features to get up & running with the best of local WordPress development tools. With almost a step by step process and lightning-fast speeds from installation to site setup, it’s best suited for beginners as well as advanced users.

Local is freely available for Mac, Windows & Linux. Visit the link provided below to download it for your device.
Once you’ve downloaded Local, proceed to the installation steps, which will take a few minutes.
Here’s a quick guide showing – How to get started with Local (in 3 Steps).
#2. Local to Live Site Connection
Once you’ve created a desired initial look for the site and are ready to deploy your local site, you will have a hard time keeping check of all the changes & steps required to fully deploy it on the live site. With all the heavy lifting exports & imports from source code to database and not to mention replacing old URLs if any. Well in this step, we will share just how you can skip all the pain points mentioned above and do it the easiest and human way possible.
WP Migrate DB Pro

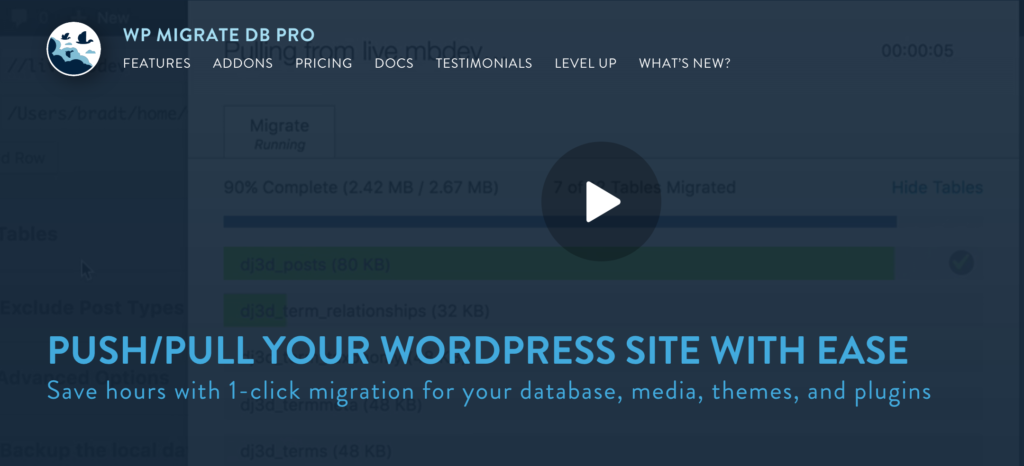
From all the available plugins for site migrations, WP Migrate DB Pro is one of the best plugins which is well engineered and designed to work for most users, it is created & maintained by the great minds at DeliciousBrains (no pun intended).
As the name suggests, this is a premium plugin and it starts at as low as $49 for a single site license per year (at the time of writing this article).
It does have a free version, WP Migrate DB. Although for the purpose of this tutorial, we’re going to have to use the premium features provided in WP Migrate DB Pro, which is site push/pull and Media Files addon.
WP Migrate DB Pro: Push & Pull – With Push & pull methods you can migrate your local site’s data to the live site.
WP Migrate DB Pro: Media Files addon – This addon helps in migrating media files that are available at the site since they’re not uploaded in the database, they need to be imported/exported separately.
WP Migrate DB Pro: Find & Replace – Along with the above features, it also has a find & replace method which helps you replace any links or texts brought back from the previous site which you may have trouble finding & replacing manually in the site database.
Here’s a quick guide which shows How to Migrate your entire WordPress site using WP Migrate DB Pro.
Alternative: Duplicator – WordPress Migration Plugin

We would not let you down if you’re not convinced enough to use WP Migrate DB Pro. There are many alternatives to the above plugin, one of the best we found is Duplicator by Snap Creek. It is a very popular WordPress migration plugin, with over 1 million-plus active installs (at the time of writing this article).
As the name suggests, it helps you create a copy of your current site with which you can migrate all of your site data in one go and install it like a normal WordPress install. What do we mean by install, well it comes with an installer which will take you through some simple steps to get the new site up and running, basically it asks for the new database credentials and site meta which you can skip if it is the same as of cloned site.
Here’s a quick guide showing you How to Migrate your WordPress site with Duplicator Plugin.
#3. Backup your site data
This is very crucial for keeping your site data safe in the long run, even if a mishap happens you’d have a restore point to go back to. Although we are already using a local environment to do any changes to the site and to deploy to live, so we do already have a last copy available to us offline. But this isn’t an ideal backup you’d want to rely on, so let’s create some actual backup copies in case you need to restore at any given point.
Local by Flywheel – The easiest way to create a backup right from your Local app, is by using the export feature available in it. It exports an archive of the site source code and database.
WP Migrate DB Pro – For those of you using WP Migrate DB Pro, the best way to keep a backup is to use the export feature available in the plugin to take a backup of the database.
And for the media files, you’d need to manually download the wp-content folder available at the root of your WordPress installation, if it is confusing for you just download the whole root folder of your site.
Duplicator – And for those using Duplicator plugin, well it takes a backup right when you export/clone your site. Gives you a wholesome copy of your entire site including source and database. You can use this to restore your site anytime you want, thanks to their standalone installer.
Hope this article, sheds some light on maintaining your WordPress site efficiently and with less to zero hiccups. Let us know in the comments below, what are your thoughts or experience regarding the same.
Follow us on our Twitter handle @codestag, to stay updated for more articles like this on WordPress & site development in general.


