
We are not going to cover any Woo-Commerce related topics, since you can easily find the related documentation at the official plugin page
here. However, we are going to go through a very quick introduction on how to create Categories and products for your store. Let’s get started.
Setting up categories
Setting up categories is easy. As posts, products too can be assigned to categories and subcategories. Provided that you have installed the WooCommerce plugin, navigate to
Products > Categories. You will see the following screen:
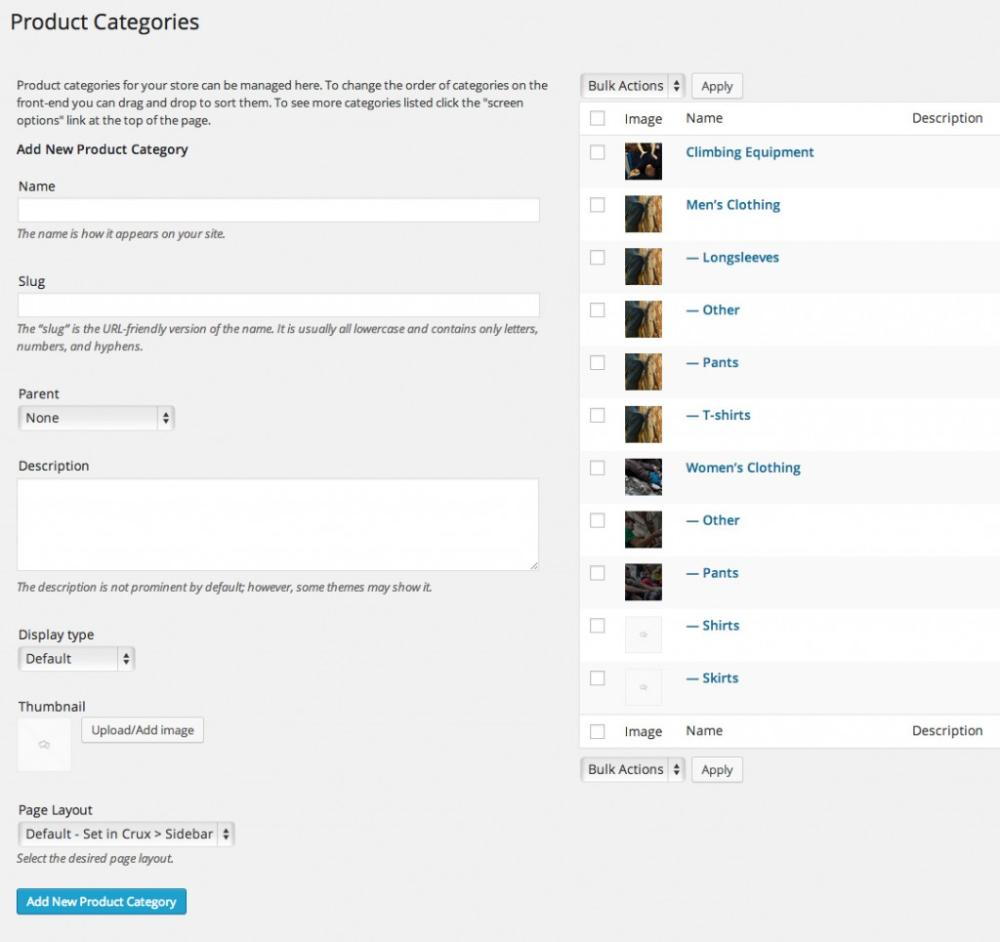
The page comes with inline help, so you will not have trouble to figure out how things work.
Display Type
Let’s pay attention at the “Display type” dropdown. You have 3 options there:
- Default will grab the values set at WooCommerce>Settings>Products> Display
- Products will show only products at the category page (Currently we use this option at the demo)
- Subcategories will show a list of subcategories and the number of products at each one of them
- Both will show both the subcategories links at the top and the products right below.
At Crux demo we are only showing products at the category page, however you can choose the option that works best for you.
Thumbnail
Here you can choose an image to show as a custom background image of the category page. If you see the category pages of the demo, you will see that there is a background image at the top, behind the category’s title. Crux grabs that image from the Thumbnail configuration we just discussed. You may wonder what are the appropriate dimensions for such an image… For the demo we have used image dimensions of
1400 x 405 pixels, but since the image adapts to the viewport, the image dimensions that will be displayed each time may vary. On a side note, just to let you know that the image is optional, and you can choose to have this space blank (white).
Page Layout
This customized section controls the layout of the specific category page. You can have it full width (4 products in a row) or with a sidebar (with 3 products in a row) at the left or right side.
If you choose the default value, this will grab the settings that are configured at Crux>Theme Options>Sidebar Settings: Sidebar on Archive Pages.
Products
Products of course are the most vital elements for your store. You should not face any difficulty to set them up, but in case you do you can always refer to the WooCommerce documentation, on
how to set up the products.
Let’s see the product page a bit, Once you hit the add product or edit product links, you will see something like this:
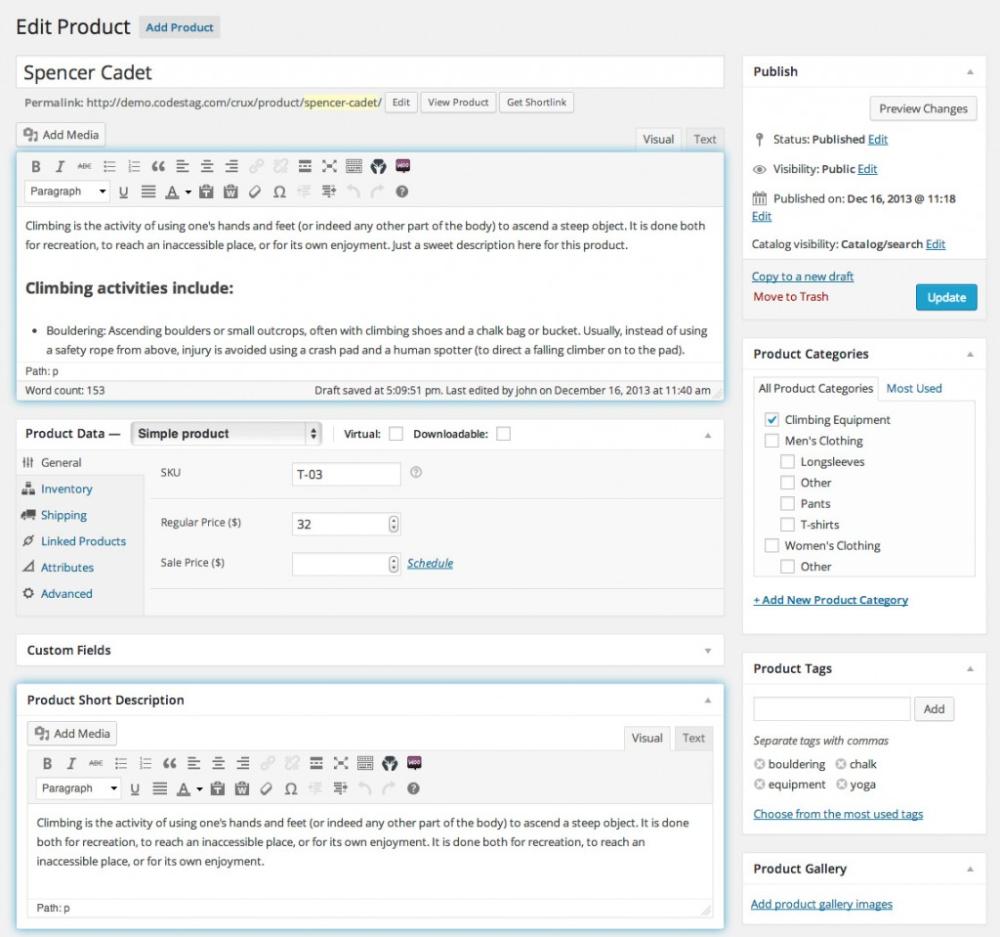
As you see at the screenshot above there are 2 highlighted areas: the content editor (top) and the product short description at the bottom. At the front-end these 2 areas correspond to 2 different layout sections:
Main editor content: This content will appear at the “Product Description” tab right under the product’s main image.
The short text (short description) that appears on the right side of the product’s main image is the content of the “
Product short description” panel.
Product image dimensions
The ideal dimensions for the product images/thumbnails are:
- Main product image: 470 x 577 pixels
- Product thumbnail (at category pages): the main product image above will automatically be resized to 270 x 330 pixels. You have nothing to do here