Crux and sidebars play well together. Notice that in order to fully make use of the theme possibilities, you will have to have the
Stag Custom Sidebars plugin installed, as described at the “recommended plugins” section of this documentation. With this plugin you can have unlimited sidebars, and use the one you want for each page.
Sidebar Options at theme options panel
The theme options panel has a dedicated tab for the sidebar settings. Let’s have a look at it.
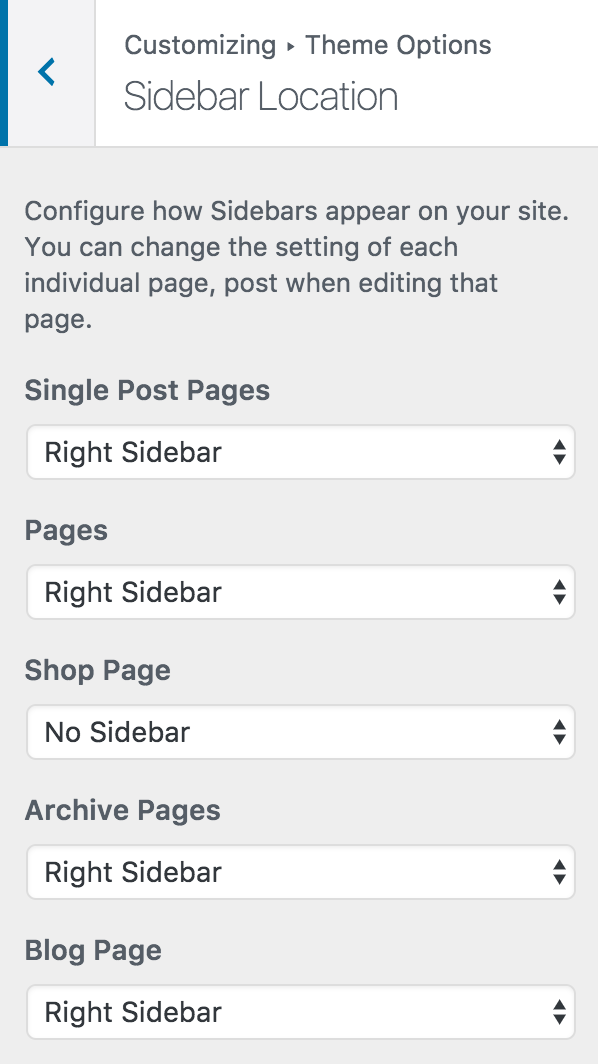
As you see, this screen provides default settings for the most common pages, with inline text help. Here you can set the default settings that would apply to all the pages, and if you want you can override each one of them for every individual post, page, category.
Note: The setting for the Archive pages will also apply for the product categories. You can override this at the individual edit category screen.
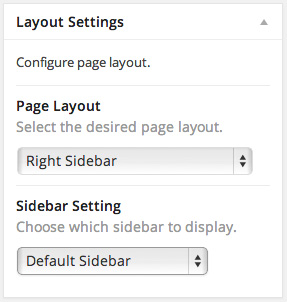
Page Layout Settings
At each post or page edit screen, you will notice the “Layout Settings” panel on the top right of the screen (screenshot below). There you can configure wether or not you want a sidebar. If you want a sidebar, the second dropdown lets you choose which sidebar. If you create custom sidebars using the Stag Custom Sidebars plugin, you can select which of these sidebars should be shown with this page, or just use the default ones.
Using the Stag Custom Sidebars plugin
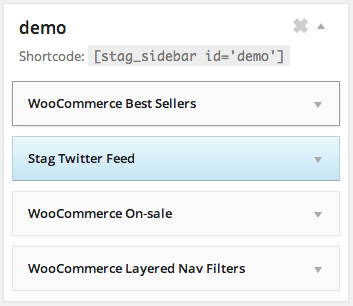
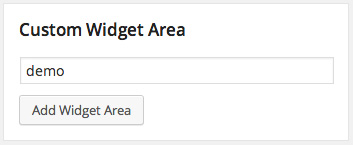
It’s too easy. Go to Appearance>Widgets, and you will see a Custom Widget Area panel. Give a name e.g. “demo” and hit the “Add Widget Area” button.
This will create a new widget area where you can add widgets. Then, you can select which sidebar to show for every individual page, through the “Sidebar Settings” at the edit page screen.