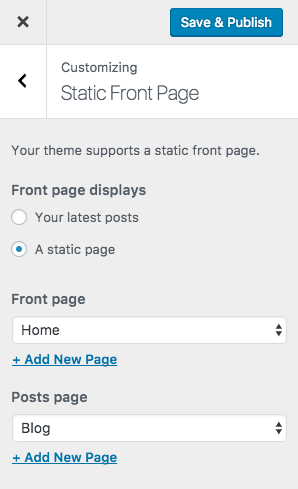
Once again, we need to go to Appearance > Customize and go to “Static front page” panel. This time we need to select a static page that will serve as the page where our blog posts will be displayed. From the second dropdown named Posts page select a static page that you have reserved for your blog. This page does not need to have any content in it, and if you have not created such a page yet, you can easily do so by adding the “add new page” text link below. Just create a new page, give it a relevant name (e.g. blog) and you should be good to go.
You can now reference this static page from the menu, and the user will land on your blog page.

Customizing the blog page
Under Appearance > Customize > Theme Options > Blog Layout you will find a number of custom options regarding the blog page. Atik has three different layout options built in, so feel free to pick the one that works best for you.
Make sure to go through the dedicated section of this documentation about working with the Customizer.
